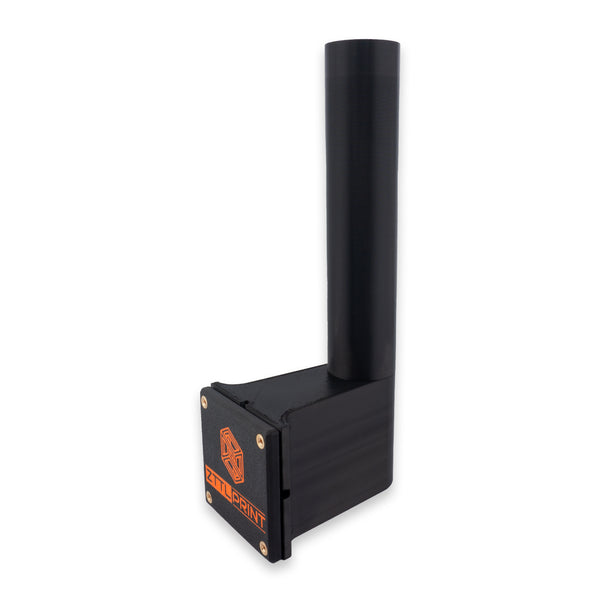


Mammotion Luba 1 + 2 & Yuka robotic lawnmower Performance Smart antenna holder black
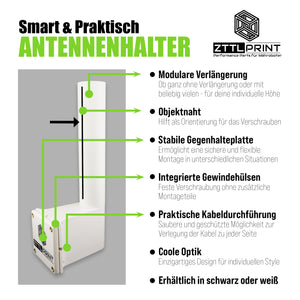
More power. More precision. Your perfect lawn.
incl. VAT.
Free shipping from minimum order value
RECOMMENDED EXTENSIONS


Compatibility
Technical data
Scope of delivery


- 1x base holder
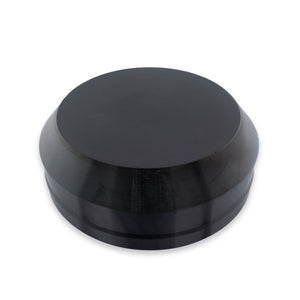
- 1x counter plate
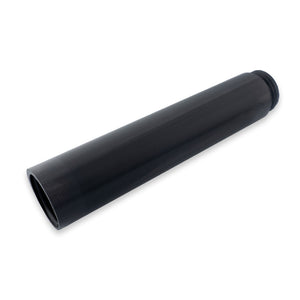
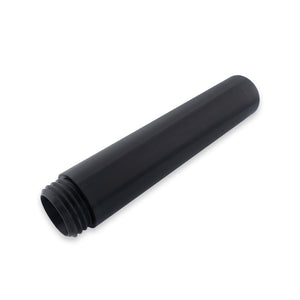
- 1x extension (also available individually -> view now)
All other items shown are for illustrative purposes only and are not included in the scope of delivery.
Assembly
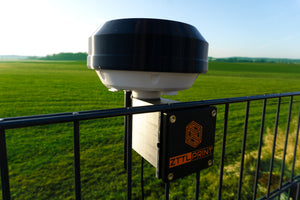
Installation recommendation - Performance Smart antenna holder
Our installation recommendations are intended as a non-binding guide.
Some recommendations are examples - the color and shape of the parts may vary. The basic instructions nevertheless remain valid.
If different, the OEM manufacturer's specifications take precedence.
Required tools, aids and protective equipment:
Depending on the selected mounting variant and the mounting material used
Installation options & materials required
Clamping variant using counter plate:
e.g. for mounting on a e.g. for mounting on a 6/5/6 double picket fence
- 4x M4x18 screws
Direct screw connection in hard substrate:
e.g. for mounting on brickwork. e.g. for mounting on brickwork
- 4x 4.5x40 mm universal screws (half round head / flat head / pan head)
- 4x 6x30 mm dowels
Direct screwing into a soft substrate:
e.g. for mounting on a wooden façade or garden shed. e.g. for mounting on a wooden facade or garden shed
- 4x 4.5x30 mm wood screws / universal screws
Installation procedure for clamping variant:
- Positioning: Position the base holder with counter plate for clamping. Note side with logo (due to direction of threaded sleeve)
- Fastening: Tighten counter plate with screws to base holder with moderate torque (approx. 1 Nm)
- Extension: Attach any number of extensions and screw lightly
Notes on marking. - The marking serves as a guide when screwing the extensions together:
The mark on the first extension should be aligned approximately in the middle of the base holder
The marks on the other extensions should be approximately on top of each other

Direct screwing assembly procedure:
- Preparation: Pre-assemble individual parts horizontally
- The marking serves as a guide when screwing the extensions together: The mark on the first extension should be aligned approximately in the middle of the base holder
The marks on the other extensions should be approximately on top of each other - Fastening: If necessary, have a second person position and secure the pre-assembled bracket. Carefully screw the base holder in place, ensuring that the cable is not trapped
- Check: Check whether the cable is lying freely and has been led out to the desired opening without being pinched

Notes, warranty & liability
What our customers say


We make the difference
Product or usage-dependent deviations possible - further information in product description & FAQ