


Lawn Cutter – Cutting System for Lawn Repair
More power. More precision. Your perfect lawn.
Processing time within one business day
incl. VAT.
FREE shipping from minimum order value


Compatibility
Technical data
Scope of delivery
What's Included (depending on the model selected)
- 1 handle (depending on your choice: loop or ball)
- 1 handle (depending on the desired working height: 116 cm or 104 cm)
- 1x ejector
- 1x base plate with cutting line
Note: The exact contents of the package depend on the product variant you select. Any other items shown are for illustrative purposes only and are not included in the package.
Assembly
Installation Recommendations - Lawn Cutter
Our assembly recommendations are intended as a general guide only.
Some recommendations are provided as examples—the color and shape of the parts may vary. However, the basic instructions remain valid.
Required tools, aids and protective equipment:
- No additional tools required
- Optional: medium-strength threadlocker
Assembly process:
- Carefully position the shank against the threaded socket on the base plate and screw it in clockwise by hand until it stops.
Tip: For added security, you can apply a medium-strength threadlocker to the threads. This may make quick disassembly difficult—use as needed. - Place the handle on the thread of the stem and screw it on clockwise until it is tight. Do not overtighten the thread.
Tip: For the bow-shaped handle, we recommend positioning it horizontally so that the logo aligns with the ejector to ensure ergonomic handling. - Align the ejector with the recesses from above and insert it

Usage
Usage - Lawn Core Drill
Our assembly recommendations are intended as a general guide only.
Some recommendations are provided as examples—the color and shape of the parts may vary. However, the basic instructions remain valid.
Required tools, aids and protective equipment:
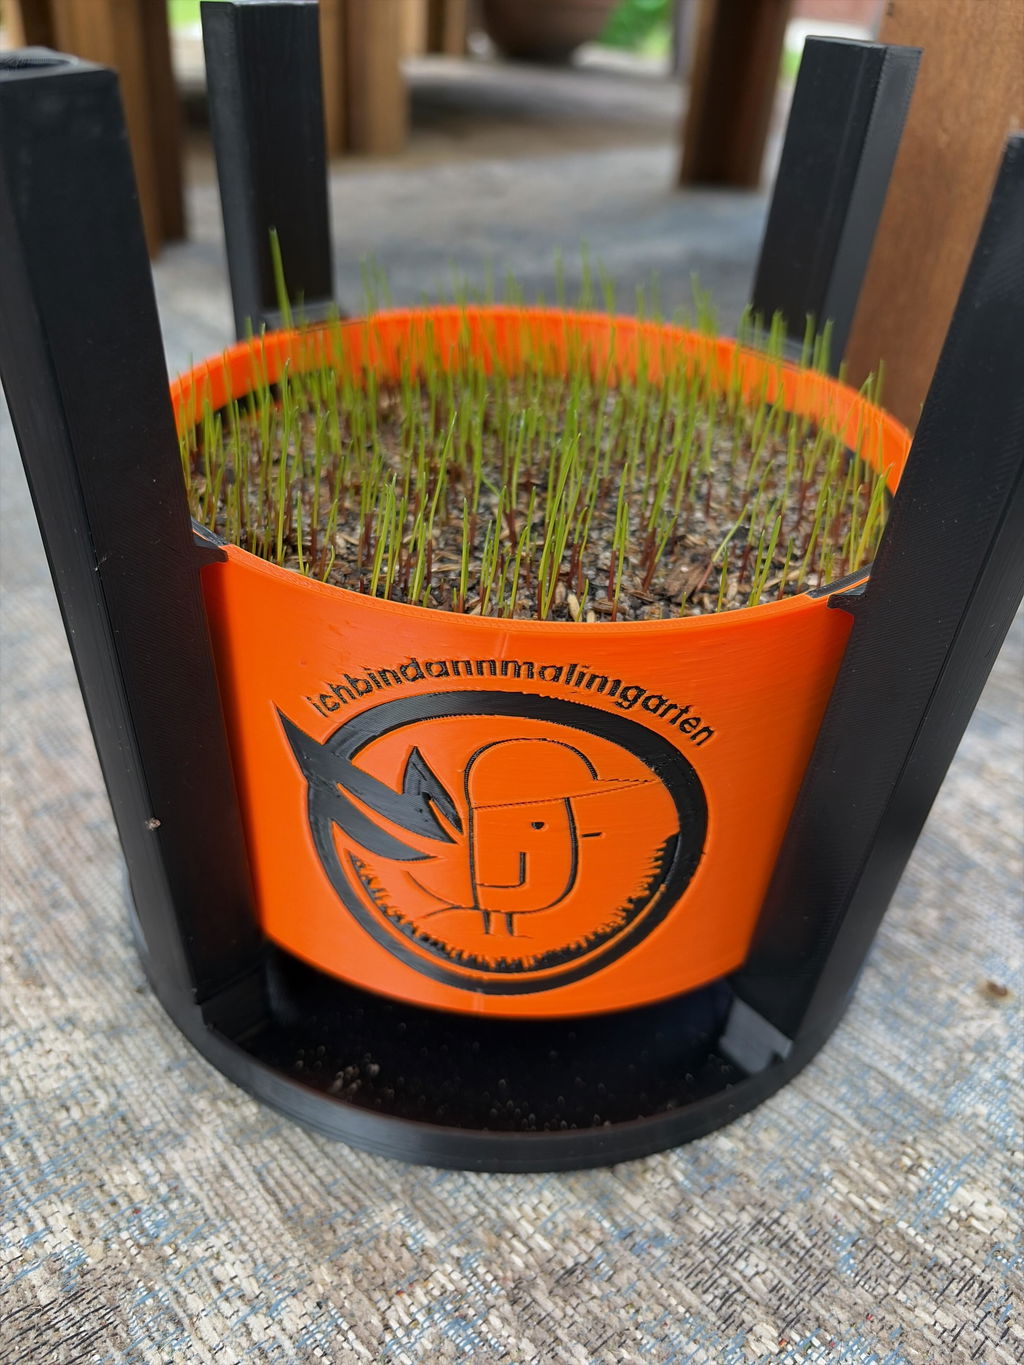
- Turf growing box with pre-grown turf section
- Water (for dry or hard soil)
- Sturdy footwear
Note:
- If the ground is dry or hard, the repair area should be watered beforehand
- Always guide the tool perpendicular to the surface to ensure clean cut edges
- Do not force entry—do not use a hammer to help break it open
- Remove the ejector before cutting out the dough, as it may be damaged if stepped on
- Cutting and ejection are performed in separate steps
- If there is residual moisture in the threaded area, it is recommended that you unscrew the handle before storing it to ensure that it dries completely and to prevent surface rust.
Process:
- Damaged area: Identify the damaged area for replacement.
- Watering: If the soil is dry or hard, lightly water the area beforehand.
- Positioning: Place the lawn corer in the center of the damaged area.
- Ejector: Be sure to remove the ejector beforehand (see note)
: Gradually apply your body weight to the lawn aerator so that it cuts into the ground. Tip: You can help the aerator cut into the ground by gently rocking it back and forth.- Press in: Press the tool into the ground until it reaches the base plate.
- To remove: Gently lift the cookie cutter straight up while swirling it slightly.
- Insert the ejectors: Insert the ejectors into the designated slots on the base plate.
- Ejecting: Gently press the ejector to release the defective piece from the cutter by pushing it downward while guiding the tool upward.
- Select replacement: Select the pre-grown turf section.
- Removal: Press the turf module from below against the base tray to remove it completely from the turf growing box.
- Installation: Place the lawn tile into the prepared opening.
- Smooth out: Gently press down on the transition to the existing surface with your foot.
- Aftercare: Lightly water the area to help the grass take root.

Notes, warranty & liability

What our customers say


Top 👍🏻
👍🏻
👍🏻
👍🏻
👍🏻
👍🏻
Reviews from real lawn professionals


FITS PERFECTLY. EXCELLENT WORKMANSHIP. TOP-NOTCH CUT. ALMOST SILENT.

LAWN BUDDY
A CLEARLY VISIBLE DIFFERENCE IN THE CROSS-SECTION!

THE MOWING RESULTS ARE GREAT! AND THE SOUND OF THE MOWER IS MUCH NICE! 👍
FAQ - frequently asked questions
- Does 3D printing lead to an irregular surface?
The quality and appearance of the surface structure is an essential part of our product design.
Layer height:
Our layer heights are optimally selected to ensure a perfect balance between visual quality and mechanical strength.
High-resolution printing technologies:
Thanks to advanced printing processes, precise details and an even surface structure are created.
Quality guarantee:
Our zoomable product images give you a detailed view of the print look and illustrate the high-quality workmanship.
- Can the material withstand the load?
Our products have been carefully developed to remain durable and safe even under increased loads.
High-strength material:
We use UV and weather-resistant thermoplastics, which are particularly robust and durable.
Strength-optimized design:
The construction is specially designed to withstand mechanical loads and ensure reliable performance.
Extensive tests:
In contrast to many other manufacturers, our blade discs undergo long-term practical testing, a centrifugal force test to determine strength and an unbalance test - while the systems of others often remain untested.

