


Mammotion Luba 1 + 2 & Yuka Robotic lawn mower Performance Smart antenna holder
inkl. MwSt.
GRATIS Versand ab Mindestbestellwert
In stock
Beschreibung
Kompatibilität
Technische Daten
Lieferumfang
- 1x base holder
- 1x counter plate
- 1x extension 🔗
Note: Product color according to selection. All other items shown are for illustration purposes only and are not included in the scope of delivery.
Montage
Installation recommendation – Performance Smart antenna holder
Our installation recommendations serve as a non-binding guide.
Some recommendations are examples only – the color and shape of the parts may vary. However, the basic instructions remain valid.
If different, the OEM manufacturer specifications take precedence.
Required tools, aids, and protective equipment:
Depending on the selected installation variant and the mounting material used
Installation variants & required materials
Clamping variant using a backing plate:
e.g. for installation on a 6/5/6 double wire mesh fence
- 4x M4x18 screws
Direct screwing into a hard surface:
e.g.for installation on brick masonry
- 4x 4.5x40 mm universal screws (round head / flat head / pan head)
- 4x 6x30 mm wall plugs
Direct screwing into soft substrate:
e.g. for installation on a wooden facade or garden shed
- 4x 4.5x30 mm wood screws / universal screws
Installation procedure for clamping version:
- Positioning: Position the base bracket with counter plate for clamping. Observe the side with the logo (due to the direction of the threaded sleeves)
- Attachment: Clamp the counter plate to the base bracket using screws with moderate torque (approx. 1 Nm)
- Extension: Attach any number of extensions and screw them together lightly
Notes on marking. - The marking serves as a guide when screwing on the extensions:
The marking on the first extension should be aligned approximately centrally with the base holder
The markings on the other extensions should be aligned approximately with each other

Installation process for direct screw fastening:
- Preparation: Pre-assemble individual parts in a horizontal position
- The marking serves as a guide when screwing on the extensions: The marking on the first extension should be aligned approximately centrally with the base holder
The markings on the other extensions should be aligned approximately with each other - Attachment: Position and secure the pre-assembled bracket, if necessary with the help of a second person .Screw the base holder on carefully, making sure that the cable is not pinched
- Inspection: Check whether the cable is positioned freely and routed out through the desired opening without being pinched

Hinweise & Gewährleistung
Das sagen unsere Kunden
Finde den Antennengrundhalter mega gute Qualität schneller versand habe schon viel da bestellt und mit allem super zufrieden immer wieder gerne 👍👍👍👍

Toppi Teil ! sieht aus wie extra für uns angefertigt. Schickes Teil und ich brauche diese Metallstange nicht die schon 14 Tage nach auspacken Rost angesetzt hat.
Habe nur vergessen das Kabel durchzuziehen aber das lag ja an mir.

Protection d'antenne très bien imprimée et qui épouse parfaitement cette antenne RTK.
Je vais la laisser en place tout l'hiver, j'en ai profité pour lui passer un petit coup de peinture pour mieux la protéger.

Sehr gute Kundenbetreuung, schnelle Lieferung gute Qualität und passt wie angegossen.
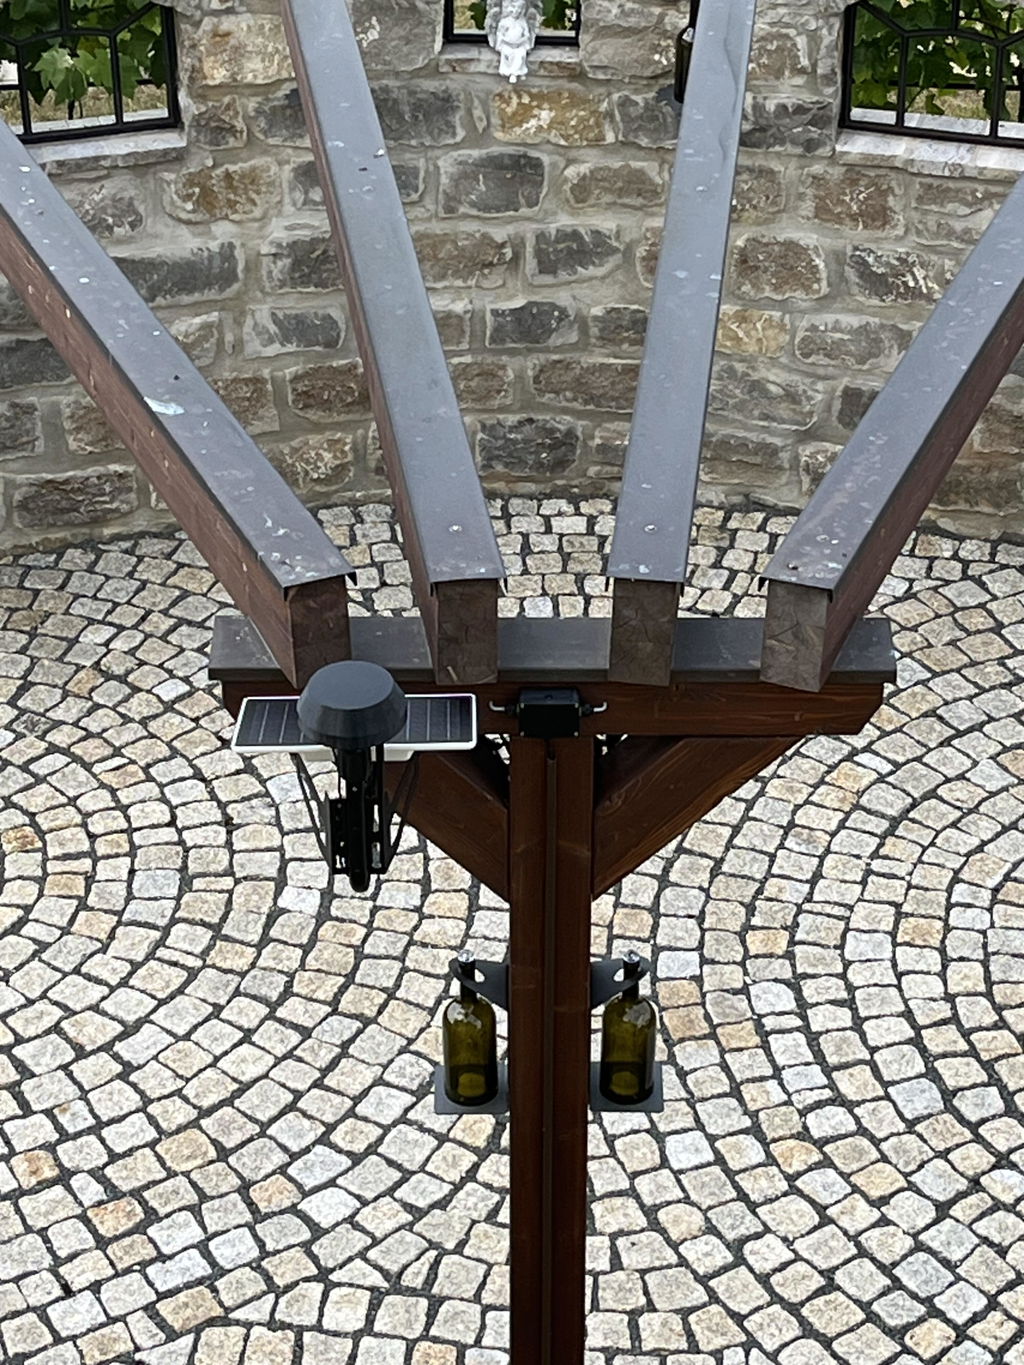
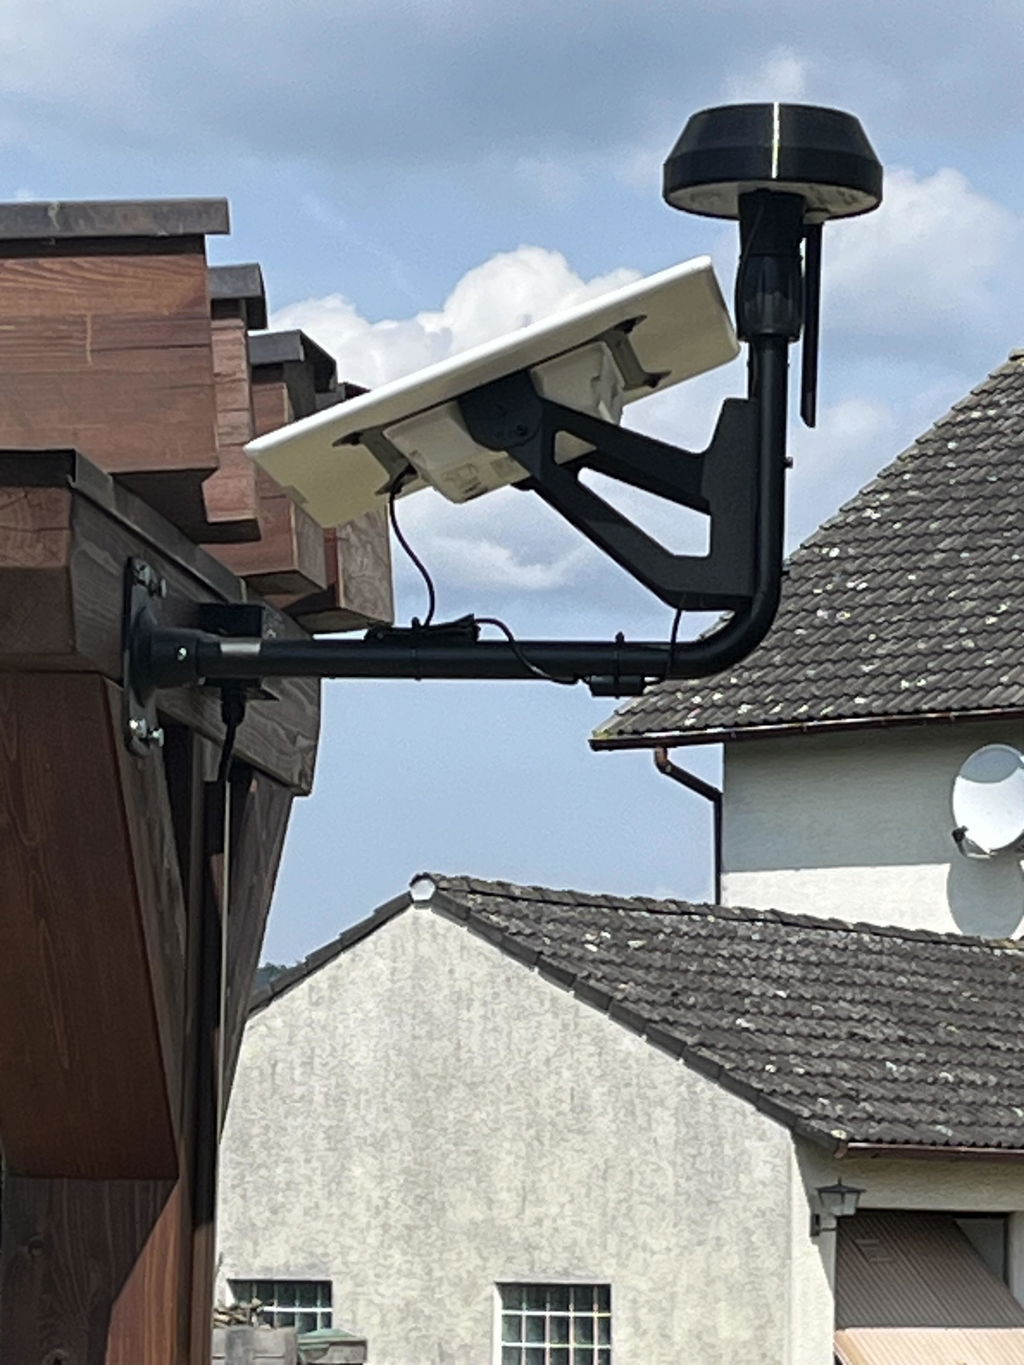
Schnell und sehr gut!
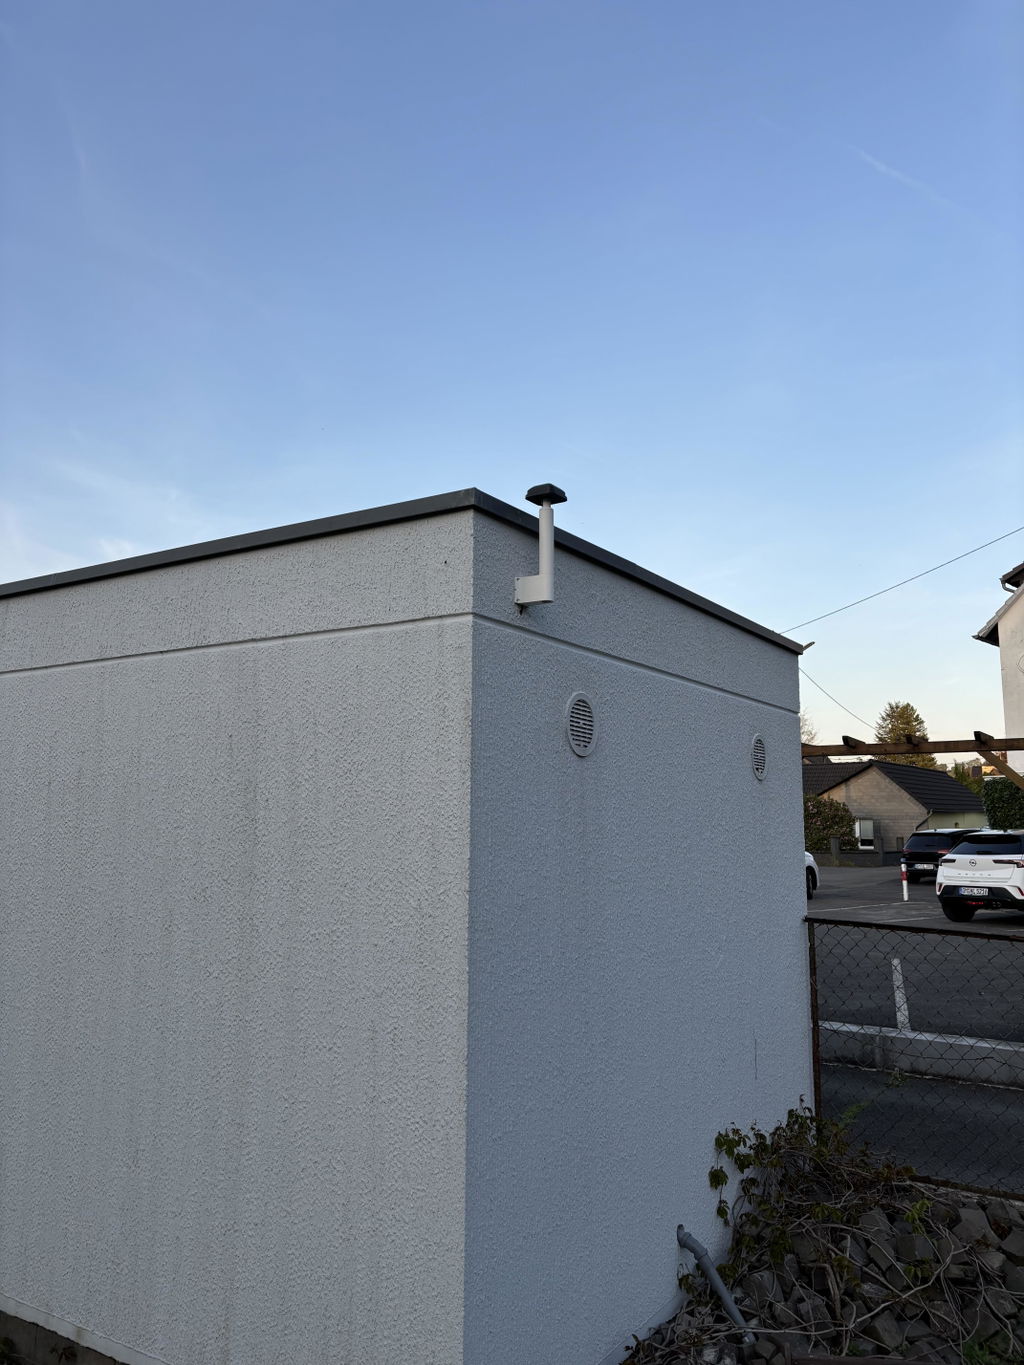
Bei der Montage ist der Adapter abgebrochen und ich habe ihn reklamiert. Dazu habe ich zwei Fotos mitgeschickt.
Ohne weitere Kommunikation hat ZTTL mir den Adapter kostenfrei ersetzt und nach Hause geschickt!
Das ist ein klasse Service! Vielen Dank!
Alles OK mit der Lieferung
Alles OK mit der Lieferung
Alles OK mit der Lieferung.
Es passt alles.
Saubere Herstellung / Verarbeitung. Stabiler Halter
Alles gut
super gefärtigt, kann ich nur empfehlen.
super gefärtigt, kann ich nur empfehlen.
super gefärtigt, kann ich nur empfehlen.
Das ist genau so wie ich es gesucht habe.
Sehr gut gearbeiteter Zaunhalter für die Antenne meines Navimoy i108E. Passt vom Lochabstand perfekt zu den gängigen Doppelstabmattenzäunen mit Abstand von 50mm.
Super
Durch die Schutzabdeckung mit Spikes sind endlich keine Vögel mehr auf meiner RTK-Antenne anzutreffen.
Der aggressive Vogelkot auf der RTK-Antenne ist somit kein Problem mehr.
Super Qualität. Bin sehr zufrieden.
Habe den Halter mit insgesamt 2 zusätzlichen Verlängerungen im Einsatz. In jeder lage ist eine Optimale Kabelführung gewährleistet.
Rezensionen von echten Rasenprofis


KEINE AUSGEFRANSTEN HALME MEHR – DER SCHNITT IST EINFACH VITALER UND SAUBERER


PASST PERFEKT. SUPER VERARBEITUNG. SCHNITTERGEBNIS 1A. FAST GERÄUSCHLOS.


FAQ - häufig gestellte Fragen
- Führt der 3D-Druck zu einer unregelmäßigen Oberfläche?
Die Qualität und Optik der Oberflächenstruktur ist ein wesentlicher Bestandteil unserer Produktgestaltung.
Schichthöhe:
Unsere Schichthöhen sind optimal gewählt, um eine perfekte Balance zwischen optischer Qualität und mechanischer Festigkeit zu gewährleisten.
Hochauflösende Drucktechnologien:
Dank fortschrittlicher Druckverfahren entstehen präzise Details und eine gleichmäßige Oberflächenstruktur.
Qualitätsgarantie:
Unsere zoomfähigen Produktbilder ermöglichen dir eine detaillierte Ansicht der Druckoptik und verdeutlichen die hochwertige Verarbeitung.
- Hält das Material der Belastung stand?
Unsere Produkte wurden sorgfältig entwickelt, um auch unter erhöhter Belastung langlebig und sicher zu bleiben.
Hochfestes Material:
Wir verwenden UV- und witterungsbeständige thermoplastische Kunststoffe, die besonders robust und langlebig sind.
Festigkeitsoptimiertes Design:
Die Konstruktion ist speziell darauf ausgelegt, mechanischen Belastungen standzuhalten und eine zuverlässige Leistung zu gewährleisten.
Umfangreiche Tests:
Im Gegensatz zu vielen anderen Herstellern durchlaufen unsere Messerteller Praxislangzeiterprobungen, eine Fliehkraftprüfung zur Festigkeitsbestimmung sowie eine Unwuchtprüfung – während die Systeme anderer oft ungetestet bleiben.

