


Mammotion Luba 1 AWD / 2 AWD Robotic lawn mower Performance Style Wheel Cover Hubcap Rim
inkl. MwSt.
GRATIS Versand ab Mindestbestellwert
In stock
Beschreibung
Kompatibilität
Technische Daten
Lieferumfang


- 2x ready-to-install wheel cover front
- 2x ready-to-install wheel cover rear
All other items shown are for illustration purposes only and are not included in the scope of delivery.
Montage
Installation recommendation – screw-on hubcap version
Our installation recommendations serve as a non-binding guide.
Some recommendations are exemplary – the color and shape of the parts may differ. The basic instructions remain valid nonetheless.
If they differ, the OEM manufacturer’s specifications take precedence.
Front Wheels
Required tools, aids and protective equipment:
- none
Assembly process:
- Positioning: Place the front wheel covers at an angle onto the rim
- Fixing: Clip into place with light pressure until it clicks into place

Rear Wheels
Required tools, aids and protective equipment:
- 2.5 mm hex key as wrench or screwdriver bit
- Small flat-head screwdriver
Assembly process:
- Disassembly: Loosen 6x hex screws of the rear wheel covers per side
- Removal: Carefully pry off the wheel cover with the flat-head screwdriver
- Positioning: Place the ZTTLPRINT hubcap so that the screw holes line up
- Fixing: 6x hex screws from step 1.reapply and tighten evenly with moderate torque (guide value 1 Nm)

Assembly recommendation – push-on wheel covers
Our assembly recommendations are intended as non-binding guidance. If they differ, the manufacturer's specifications take precedence.
Front wheels
Required tools, aids and protective equipment:
- none
Installation process:
- Positioning: Place the front wheel covers at an angle onto the rim
- Securing: Clip into place with light pressure until it engages

Rear wheels
Required tools, aids and protective equipment:
- Hot air gun or hair dryer
- Small flathead screwdriver
Installation process:
- Preparation for removal: Carefully and evenly heat the outer ring so that the retaining tabs release more easily
- Removal: Carefully pry off the outer ring with the flathead screwdriver
Warning: Retaining tabs of the original ring may break off during removal! No assumption of liability possible. - Positioning: Place the hubcap so that the retaining tabs align ZTTLPRINT
- Fixing: Press evenly around the edge and in the center

Hinweise & Gewährleistung
Das sagen unsere Kunden
Sehr gute Verarbeitung
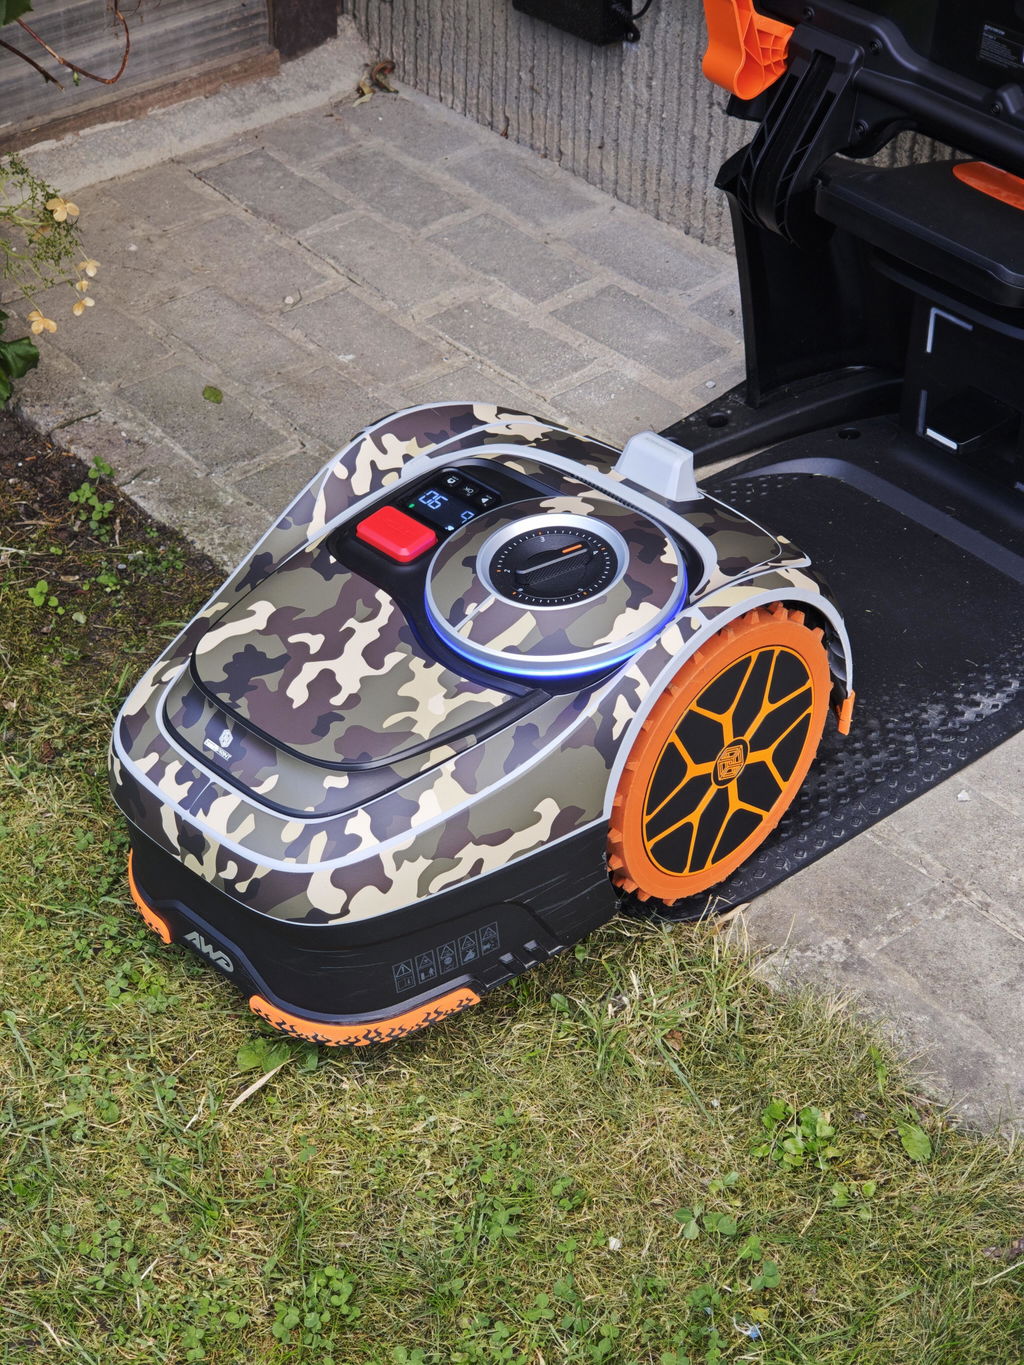
- Einfache Montage
- super stylisch
- sehr wertig
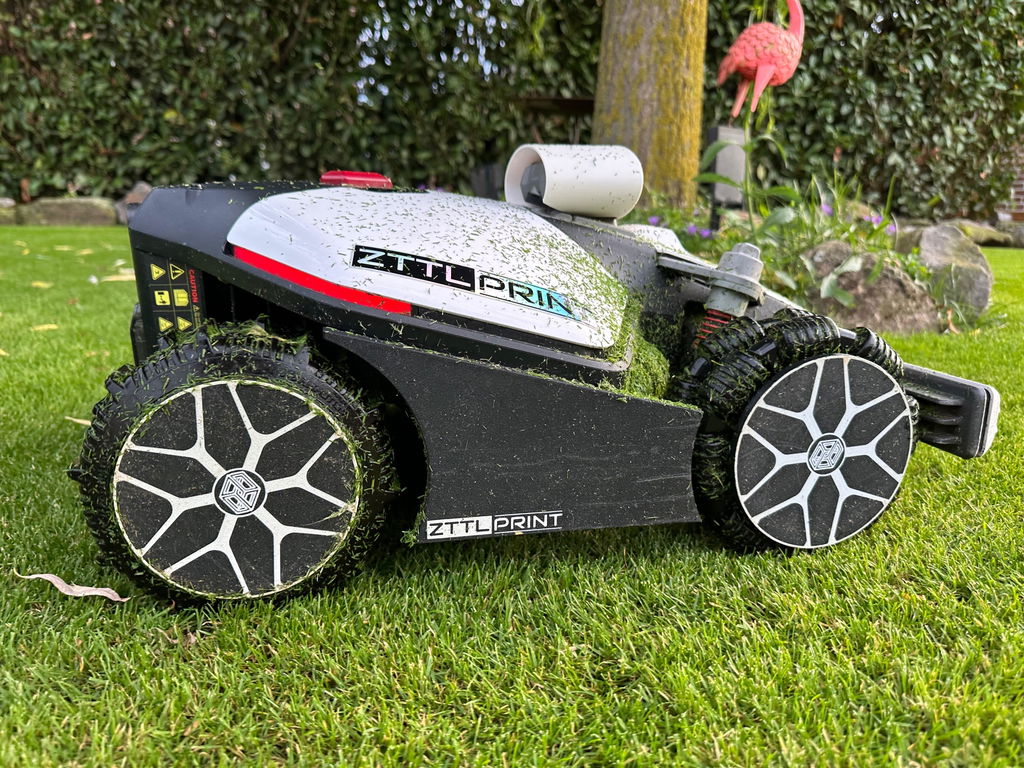
Die Lieferung war unglaublich schnell da,habe sofort angefangen zu montieren,sieht super aus,bin total zufrieden.
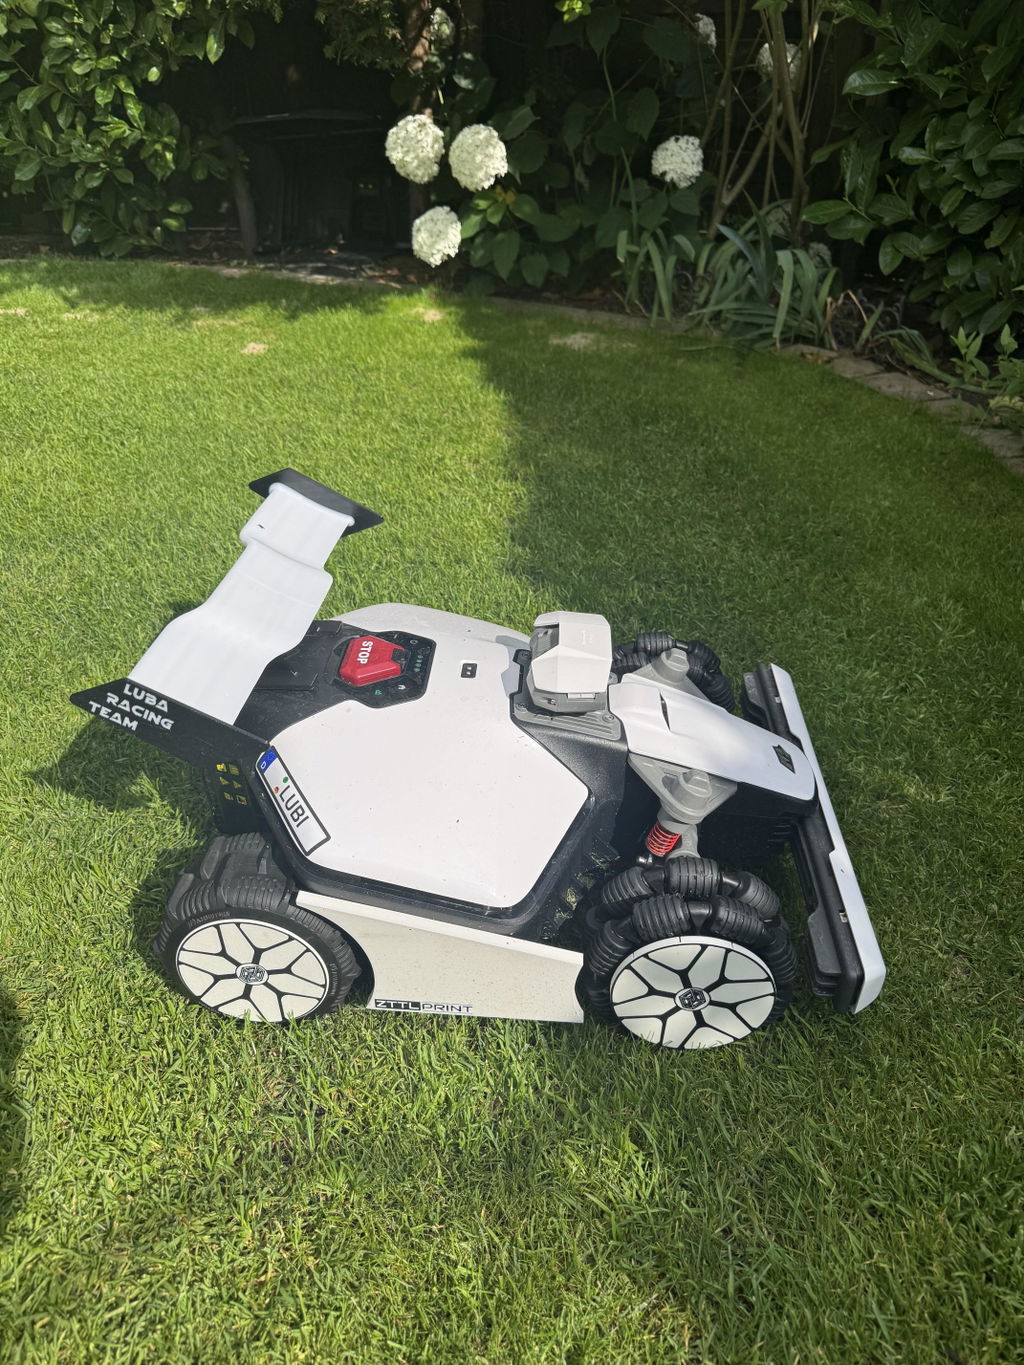
Shop, Bestellung und Lieferung, alles top👍
perfekt
Passt optisch gut zum Mähroboter, gute Verarbeitung und muss, wie das Original, mit drei Schrauben befestigt werden
Die Randabdeckungen sind super!Sehen toll aus und schützen das "Original-Rad"... Klar eine Verbesserung!!! 😉
Artikel wie beschrieben
Die Radabdeckungen passen perfekt. Sieht gut aus. Toller Anbieter, Verkäufer.
Nur zu empfehlen.
Der Luba sieht direkt viel stylischer aus aber der eigentliche Sinn und Zweck nämlich der Schutz des Rads wird zu 100% erfüllt.
Kein Hängenbleiben mehr und somit effizienteres Mähen.
Freundlicher Kontakt mit dem Verkäufer bei Nachfragen zum Produkt.
Von mir Daumen hoch!👍🏼
Sportliches Felgendesign für den Luba. Ich bin von der Optik sowie der Qualität vollstens begeistert.
Leichte Montage an originalen Befestigungspunkten.
Rezensionen von echten Rasenprofis


KEINE AUSGEFRANSTEN HALME MEHR – DER SCHNITT IST EINFACH VITALER UND SAUBERER


PASST PERFEKT. SUPER VERARBEITUNG. SCHNITTERGEBNIS 1A. FAST GERÄUSCHLOS.


Wir machen den Unterschied
Produkt- oder nutzungsabhängige Abweichungen möglich: Details in der Produktbeschreibung & FAQ
FAQ - häufig gestellte Fragen
- Führt der 3D-Druck zu einer unregelmäßigen Oberfläche?
Die Qualität und Optik der Oberflächenstruktur ist ein wesentlicher Bestandteil unserer Produktgestaltung.
Schichthöhe:
Unsere Schichthöhen sind optimal gewählt, um eine perfekte Balance zwischen optischer Qualität und mechanischer Festigkeit zu gewährleisten.
Hochauflösende Drucktechnologien:
Dank fortschrittlicher Druckverfahren entstehen präzise Details und eine gleichmäßige Oberflächenstruktur.
Qualitätsgarantie:
Unsere zoomfähigen Produktbilder ermöglichen dir eine detaillierte Ansicht der Druckoptik und verdeutlichen die hochwertige Verarbeitung.
- Hält das Material der Belastung stand?
Unsere Produkte wurden sorgfältig entwickelt, um auch unter erhöhter Belastung langlebig und sicher zu bleiben.
Hochfestes Material:
Wir verwenden UV- und witterungsbeständige thermoplastische Kunststoffe, die besonders robust und langlebig sind.
Festigkeitsoptimiertes Design:
Die Konstruktion ist speziell darauf ausgelegt, mechanischen Belastungen standzuhalten und eine zuverlässige Leistung zu gewährleisten.
Umfangreiche Tests:
Im Gegensatz zu vielen anderen Herstellern durchlaufen unsere Messerteller Praxislangzeiterprobungen, eine Fliehkraftprüfung zur Festigkeitsbestimmung sowie eine Unwuchtprüfung – während die Systeme anderer oft ungetestet bleiben.

